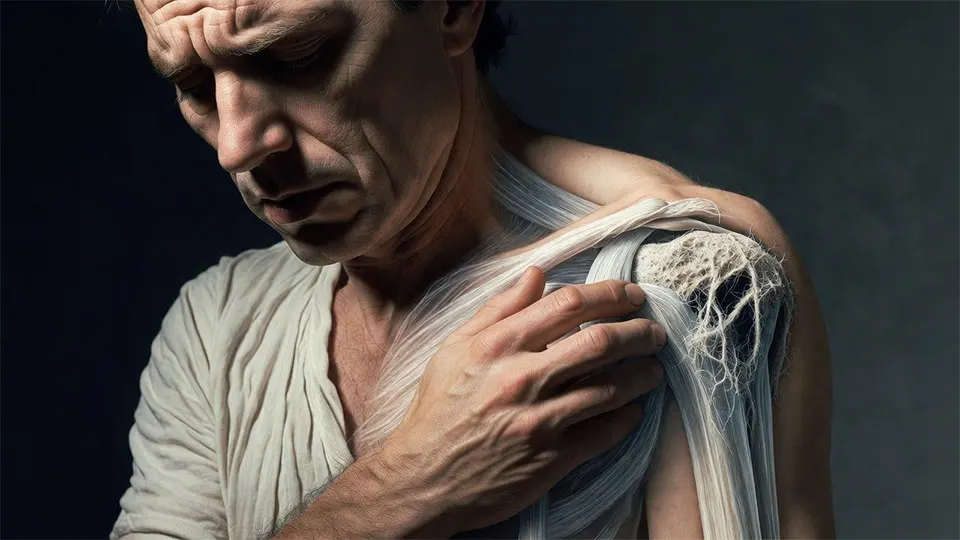
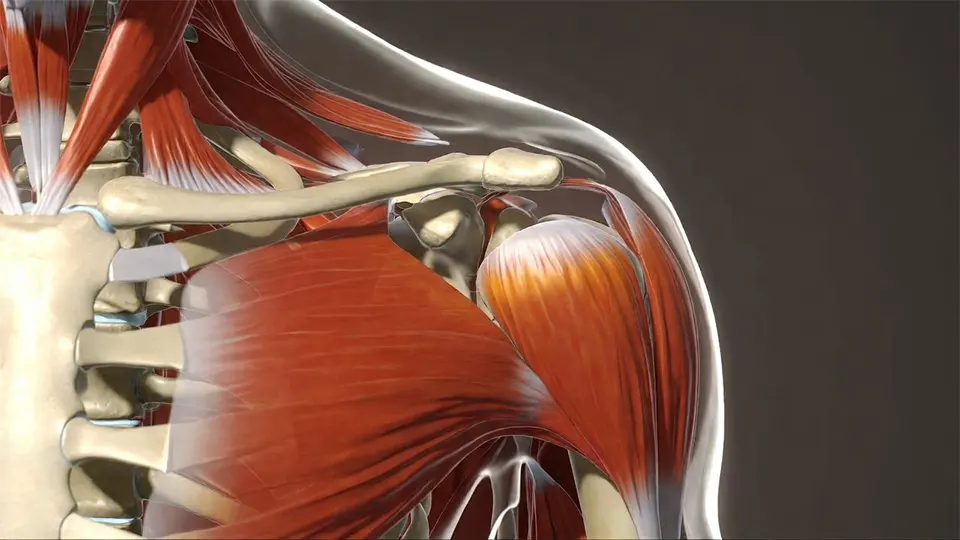
To understand why your pain recurs, we first have to respect the machinery. The shoulder is an engineering marvel—and a nightmare. It is the most mobile joint in the human body, capable of 360-degree rotation. But in the human body, mobility always comes at the cost of stability.
The Golf Ball on a Tee
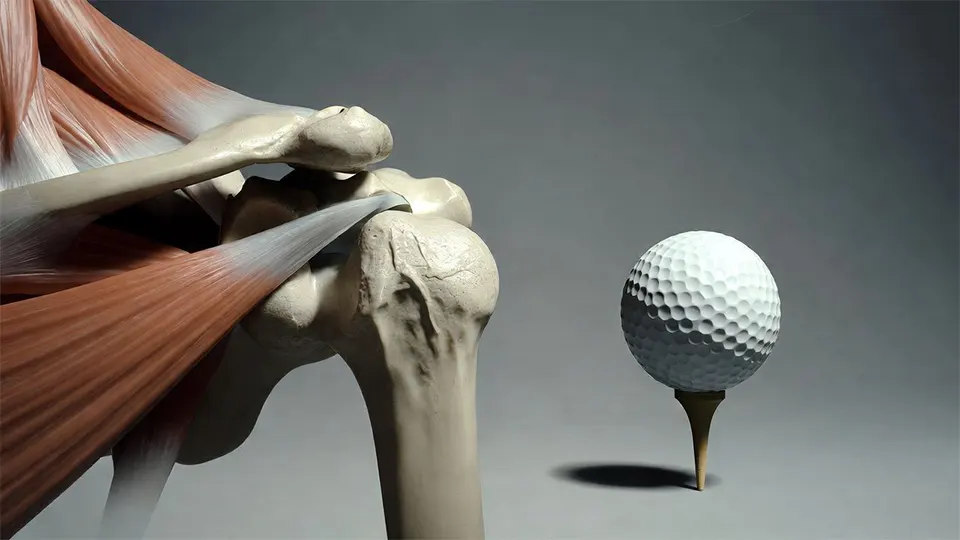
Think of your hip joint as a ball-and-socket joint where the ball fits deeply into a cup. It’s stable. Now, think of your shoulder joint (the glenohumeral joint). It isn’t a ball in a cup; it’s more like a golf ball sitting on a tiny golf tee. The bony connection is minimal.
So, what keeps the golf ball from falling off the tee when you wave your arm? Soft tissue. Specifically, the rotator cuff and the joint capsule.
The Rotator Cuff: The Four Guardians
You hear the term “rotator cuff” constantly, but few patients understand what it actually is. It is not one muscle; it is a group of four small muscles (the SITS muscles) that fuse together to form a “cuff” around the shoulder joint.
Supraspinatus: The most commonly injured muscle. It sits on top of the shoulder and helps lift your arm away from your side.
Infraspinatus: Located on the back of the shoulder blade. It rotates the arm outward (external rotation).
Teres Minor: Also on the back, working with the infraspinatus to rotate and stabilize.
Subscapularis: The hidden muscle on the front of the shoulder blade. It rotates the arm inward (internal rotation).
Their main job isn’t power; it’s centration. They pull the “golf ball” inward, keeping it centered on the “tee” while the big powerhouse muscles (like the deltoids and pecs) move the arm. If the rotator cuff is weak or fatigued, the ball slides around, pinching structures and causing pain.
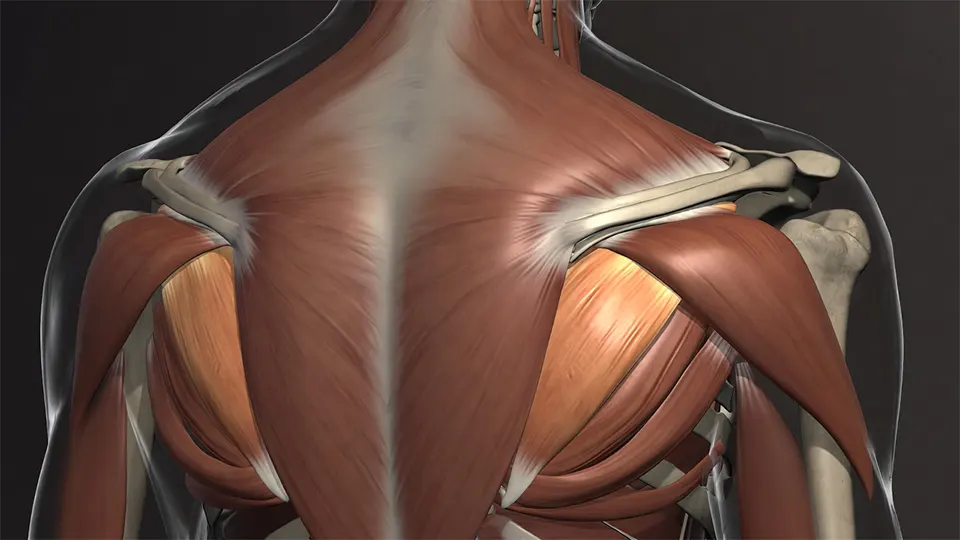
The Scapula: The Foundation
The shoulder blade (scapula) is the foundation of your shoulder’s movement. It must move in perfect rhythm with your arm. If you raise your arm but your scapula stays stuck, the arm bone will jam into the acromion bone above it. This is the definition of impingement.


Before we build the solution, we need to diagnose the failure of previous attempts. Here are the three most common reasons your shoulder rehab hasn’t stuck.
1. You Treated the Inflammation, Not the Mechanics
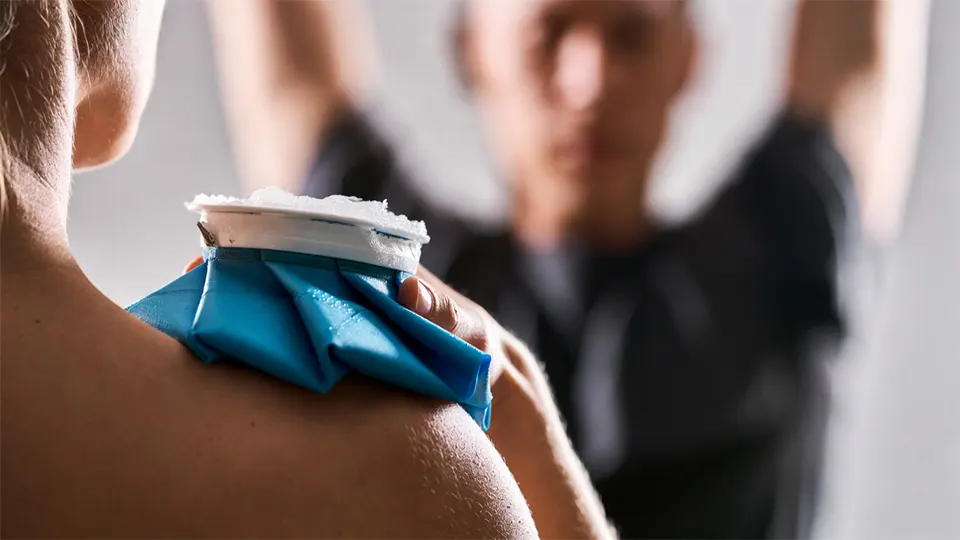
Rest, ice, and cortisone shots are excellent for calming down acute inflammation (the “fire”). However, they do nothing to fix the faulty movement mechanics (the “arsonist”) that started the fire. Once the inflammation goes down and you return to movement, the arsonist is still there, ready to light the match again.
2. You Ignored the “Kinetic Chain”

Your body is a series of linked chains. If your hips are tight or your core is weak, you can’t generate force from your trunk. Consequently, your shoulder tries to generate that force all by itself. This is common in tennis players, swimmers, and anyone who lifts weights. A generic search for “shoulder pain” often leads to rotator cuff exercises, but a true expert knows to look at the hips and core as well.
3. You Stopped Rehab Too Early
This is the classic mistake. Once the pain is gone, most people stop their exercises. But the absence of pain does not equal the presence of function. There is a critical gap between “pain-free” and “resilient.” Bridging that gap requires a progressive plan that loads the tissues beyond what they face in daily life.
A successful treatment plan is not a random list of exercises found on YouTube. It is a structured, phased approach designed to rebuild your shoulder from the inside out. Here is the blueprint we use to ensure long-term relief.
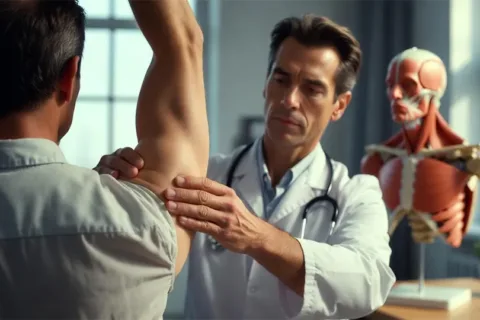
Phase 1: The Detective Work (Assessment)

Before a single exercise is prescribed, we must understand the unique landscape of your body.
Posture Analysis: We check for “Upper Crossed Syndrome”—tight pecs/upper traps and weak neck flexors/lower traps.
Scapular Dyskinesia: We watch your back while you lift your arms. Does the scapula move smoothly, or does it stutter and wing?
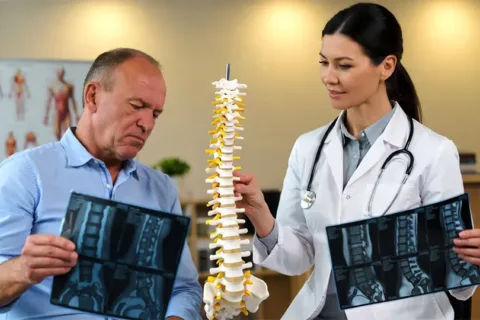
Rule Out Red Flags: We ensure there are no full-thickness tears or neurological issues requiring surgery.
Phase 2: Calming the Storm (Protection & Mobility)
Goal: Reduce pain and restore normal range of motion without irritation.
The Exercises:
Pendulums: Lean forward, letting your arm hang like a dead weight. Use your body momentum to gently swing the arm in circles. 2 minutes, 2x daily.
Thoracic Open Books: Lay on your side with knees bent. Open your top arm like a book, rotating your upper back while keeping your knees on the floor. 10 reps per side.
Doorway Pec Stretch: Place forearms on a doorframe and gently step through to stretch the chest. Hold 30 seconds, 3x daily.
Why this works: It creates space. By loosening the chest and mobilizing the spine, we stop the “pinching” mechanism immediately.
Phase 3: Activation & Stability (The “Boring” Phase)
Goal: Wake up the dormant stabilizer muscles (Rotator Cuff & Lower Trap).
The Exercises:
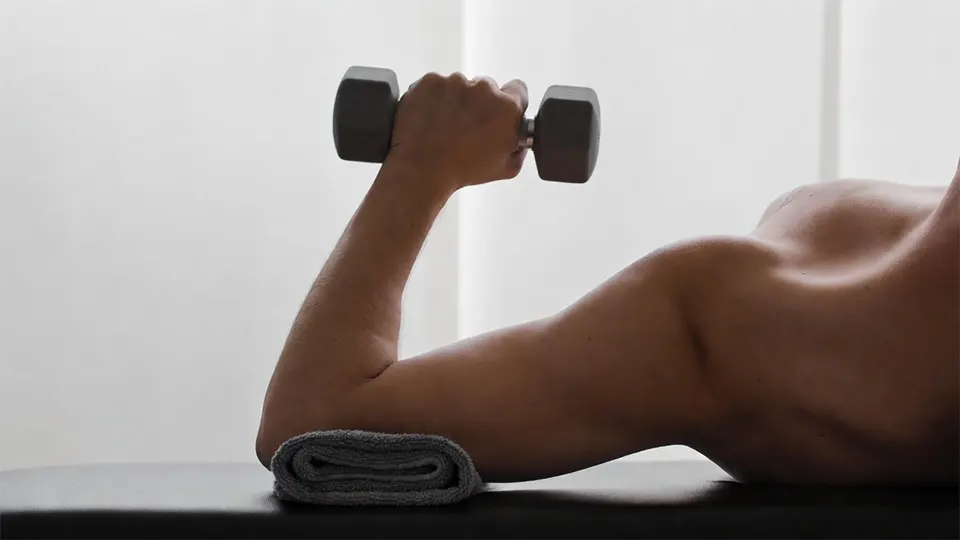
Sidelying External Rotation: Lie on your unaffected side. Place a rolled towel between your elbow and ribs. Holding a light dumbbell (1-3 lbs) or a soup can, rotate your arm upward toward the ceiling.
Protocol: 3 sets of 15 reps.
Cue: Keep the elbow glued to the towel. Do not let the shoulder roll back.
Scapular Squeezes (Isometrics): Sit tall. Gently squeeze your shoulder blades down and back, imagining you are trying to put them in your back pockets.
Protocol: Hold for 5 seconds, repeat 20 times.
Wall Slides with Towel: Stand facing a wall with a small towel under your hands. Slide your hands up the wall into a “Y” shape.
Protocol: 3 sets of 10 reps.
Cue: Do not shrug your shoulders up to your ears. Keep them depressed.
Why this works: Low-load, high-repetition exercises increase blood flow to the tendons and teach the brain to find the right muscles again.
Phase 4: Strengthening & Integration
Goal: Build load capacity. This is where we make the shoulder robust.
The Exercises:
The “Full Can” Raise: Stand holding light dumbbells. Lift arms out to the side at a 45-degree angle (scaption plane) with thumbs pointing UP (like holding a full can).
Why: This activates the Supraspinatus without causing impingement.
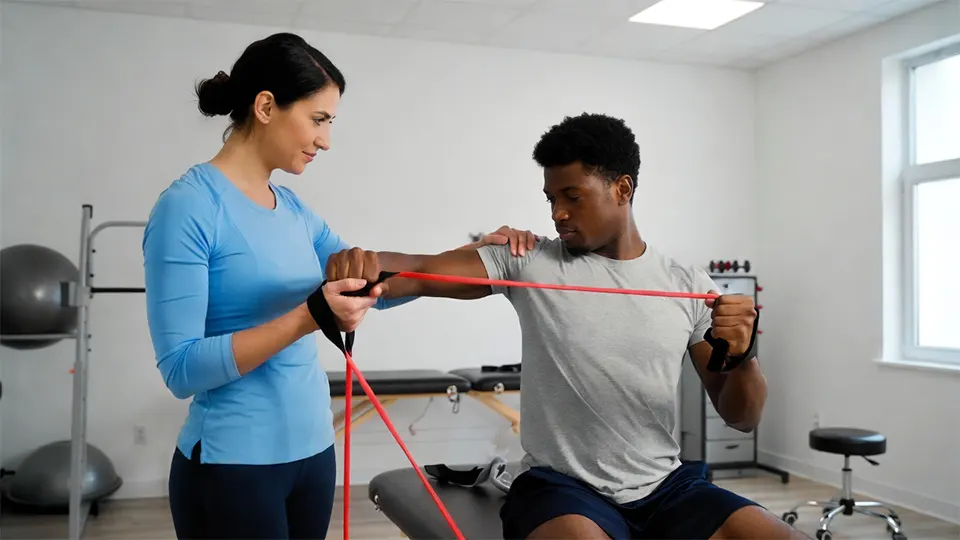
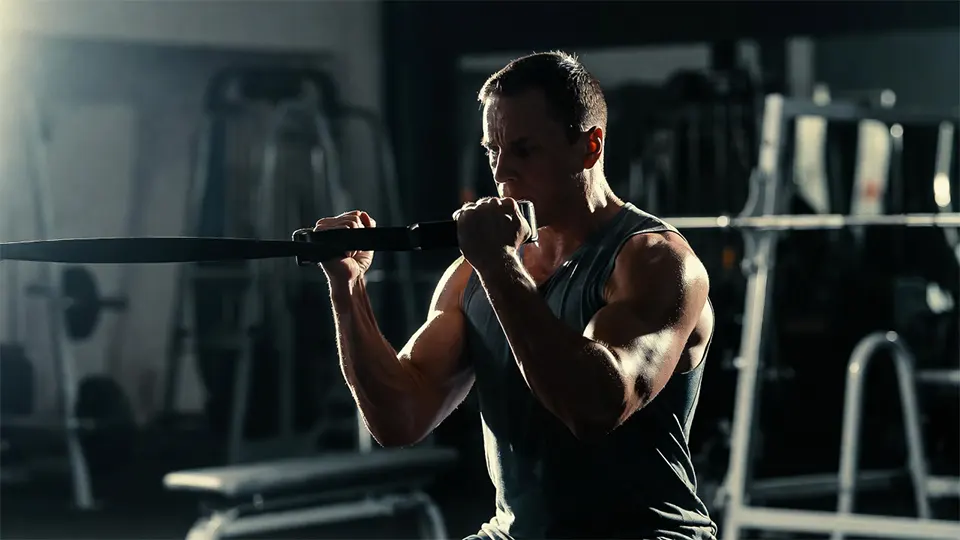
Face Pulls: Using a resistance band anchored at face height, pull the band towards your forehead, driving your elbows back and rotating your hands up.
Why: This hits the rear deltoids and external rotators, combating the “slumped” posture.
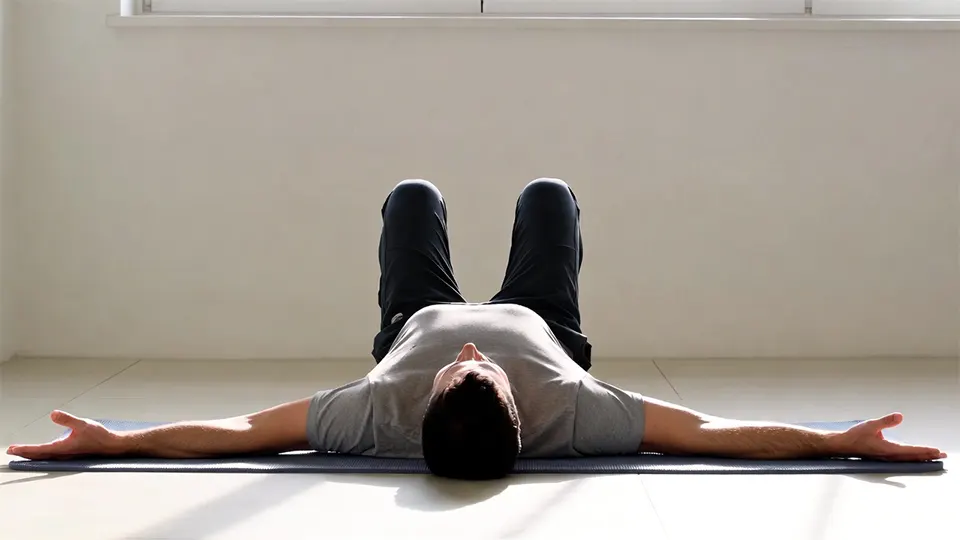
Serratus Punches: Lying on your back holding a dumbbell straight up toward the ceiling. Punch “up” further by lifting your shoulder blade off the floor, then lower it back down without bending your elbow.
Why: This targets the Serratus Anterior, the primary stabilizer of the scapula.
Phase 5: Bulletproofing (Return to Function)
Goal: Expose the shoulder to loads heavier and faster than daily life requires.
The Exercises:
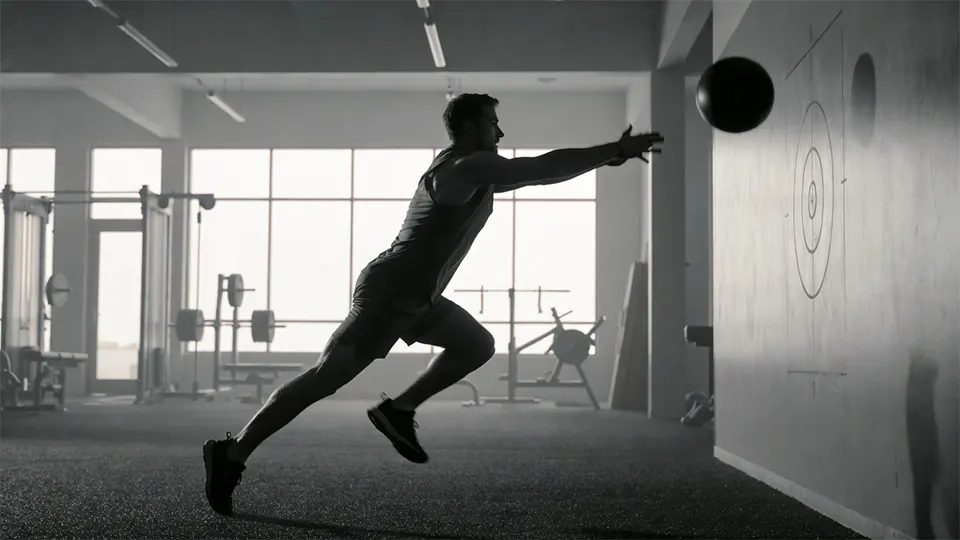
Plyometric Wall Ball: Tossing a small medicine ball against a wall at chest height.
Bear Crawls: Crawling on hands and toes. This is a “closed kinetic chain” exercise that forces the entire shoulder girdle to co-contract and stabilize.
Turkish Get-Up (Partial): Using a kettlebell to train stability through a wide range of motion.

To help you visualize how this shoulder physical therapist treatment plan applies to real life, let’s look at two common patient profiles.
Case Study A: “Desk Job Sarah”

The Profile: Sarah is a 42-year-old graphic designer. She sits for 9 hours a day.
The Pain: Burning ache in the top of the right shoulder and neck, worsening at 3 PM.
The Root Cause: Her monitor was too low, causing her to jut her chin forward. Her thoracic spine was stiff as a board, forcing her upper traps to hold her arms up all day.
The Fix:
Ergonomics: Raised monitor to eye level.
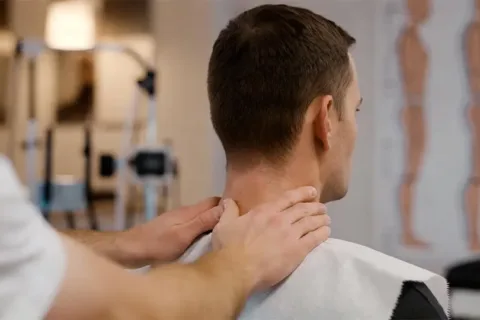
Manual Therapy: Aggressive soft tissue work on the upper traps and pectorals.
Exercise Focus: Heavy emphasis on Phase 2 (Thoracic mobility) and Phase 3 (Lower trap strengthening) to pull her shoulders out of her ears.
Result: Pain-free in 5 weeks; improved posture permanently.
Case Study B: “CrossFit Mike”

The Profile: Mike is a 28-year-old fitness enthusiast. Loves overhead presses and snatches.
The Pain: Sharp pinching sensation in the front of the shoulder when the bar goes overhead.
The Root Cause: Mike had plenty of strength but zero stability. His big muscles (deltoids/lats) were overpowering his tiny stabilizers (rotator cuff). The “golf ball” was sliding forward every time he pressed.
The Fix:
Load Management: Reduced overhead weights by 50% temporarily.
Exercise Focus: Heavy emphasis on Phase 4 (Face Pulls) and Phase 5 (Kettlebell stability work). We forced his rotator cuff to work overtime to keep up with his deltoids.
Result: returned to Personal Best lifts in 12 weeks with zero pain.
You cannot out-train a bad lifestyle. Tendons (the tissue that connects muscle to bone) have a notoriously poor blood supply, which is why they heal slowly. To supercharge your shoulder physical therapist treatment plan, you need to fuel the repair process.
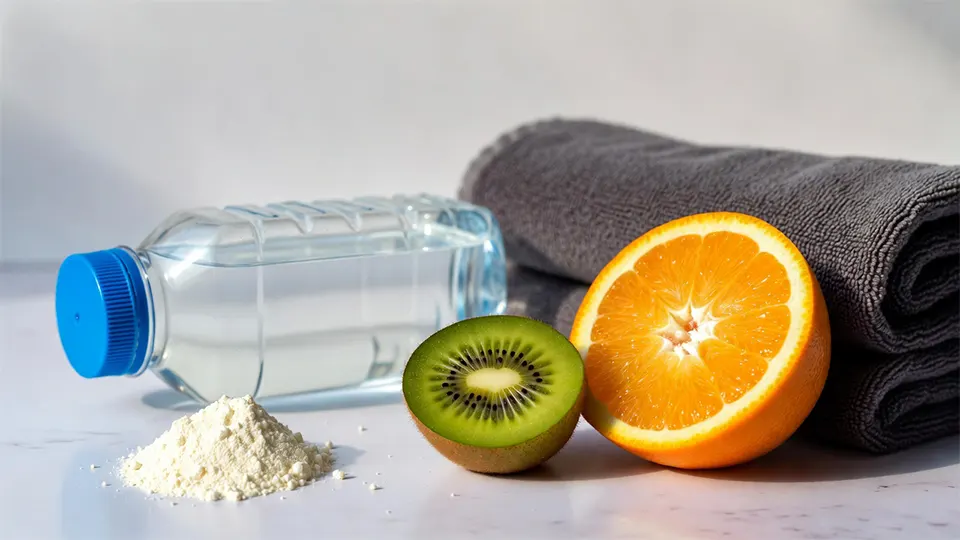
1. Collagen and Vitamin C
Recent studies suggest that consuming 15g of hydrolyzed collagen or gelatin with Vitamin C roughly 60 minutes before your rehab exercises can double collagen synthesis in the tendons. The timing matters: you want the nutrients in your bloodstream right when you are loading the tissue.
2. Hydration is Non-Negotiable
Your fascia and tendons are largely made of water. A dehydrated tendon is stiff, brittle, and prone to snapping. Aim for half your body weight in ounces of water daily.
3. Sleep Position

If you have shoulder pain, how you sleep matters.
The Mistake: Sleeping directly on the painful shoulder cuts off blood flow. Sleeping with the arm overhead (like Superman) causes impingement all night long.
The Fix: Sleep on your back or the unaffected side. Place a pillow under the affected arm (as if you are hugging it). This keeps the shoulder in a neutral, open position, allowing maximum blood flow during the night.